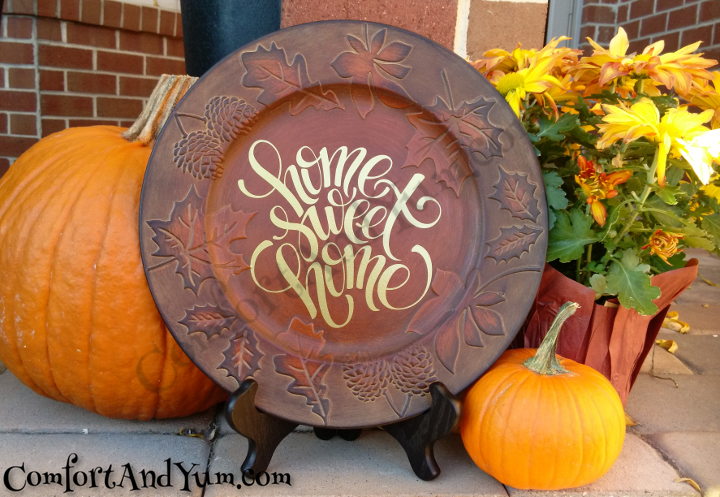
 Thanksgiving is one of my favorite holidays! It’s a holiday where I insist we stay at home. No restaurants or road trips for us, no sir! I love cooking & baking for Thanksgiving … even if it’s just The Hubster and me.
Thanksgiving is one of those holidays here in the US that some people really decorate for while others give more attention to the food than the decor.
I’m one of those that pays more attention to the food than the decor … don’t hate me … I have my reasons, honest! Although I create & decorate home decor in my business, I just don’t have that many surfaces in my home that I can allocate to decoration. I have a hall table and a mantle — that’s it! So I’m very selective of my decorations since I can only have a few.
This year, as part of our awesome Silhouette Challenge group, we were tasked with creating projects under $5 … soup to nuts! That is right up my alley! I love creating gorgeous things that can be enjoyed without breaking the bank.
So join me and the rest of the Silhouette Challenge group for lots of beautiful projects for $5 and under.
My project for this month was easy for me to come up with. I was already inspired by some beautiful examples in a Facebook group to take plates and/or chargers and decorate them with quotes. These plates and chargers just got my creative juices flowing and now, every time I see a plain colored plate my first thought is, “I can decorate that with …..” and my mind goes in twelve different directions at once.
I was recently in my local WalMart and I found some beautiful chargers that have fall leaves in a raised design around the edges. The price: $2.99 each. SOLD!
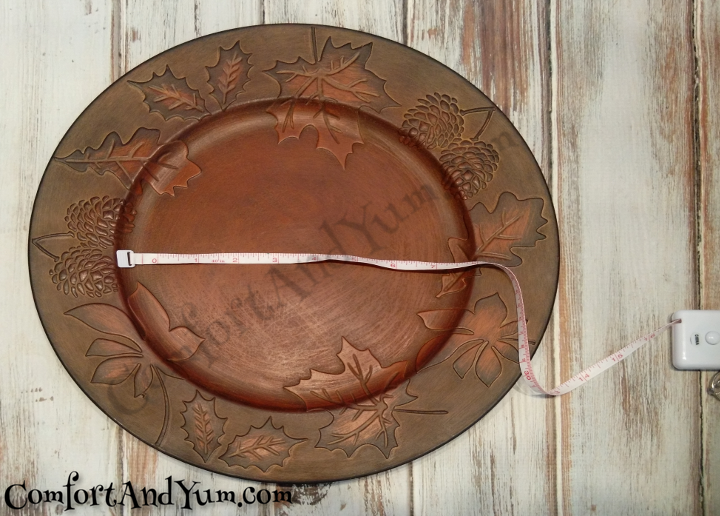
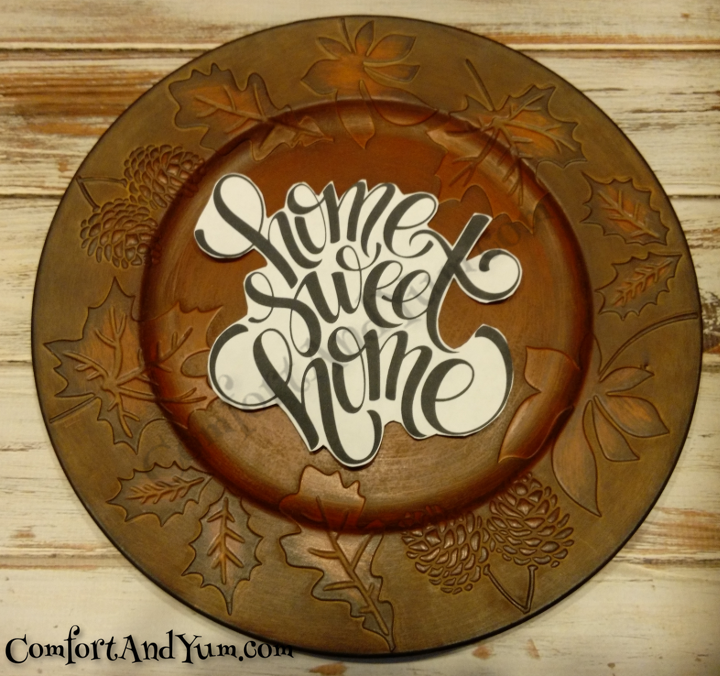
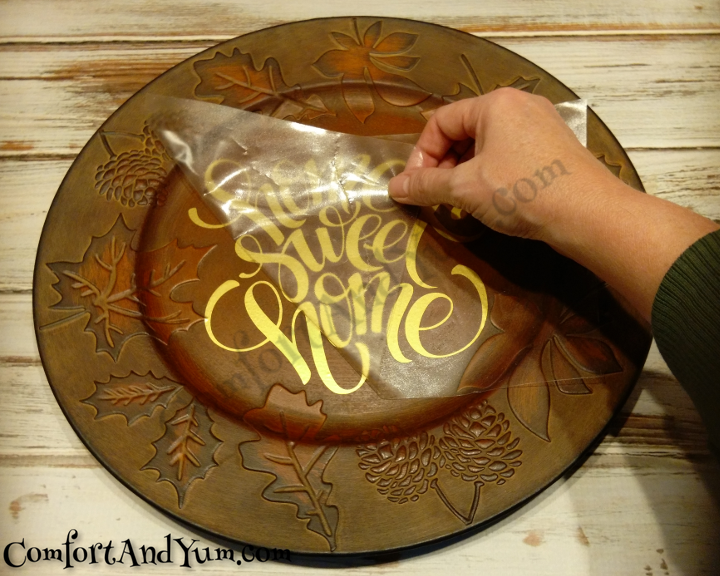
Not all plates and chargers are exactly the same size. As you can see from the charger plate I chose, the raised pattern not only goes around the rim of the plate, but it dips down into the area of the plate that I’ll be decorating with a vinyl quote.
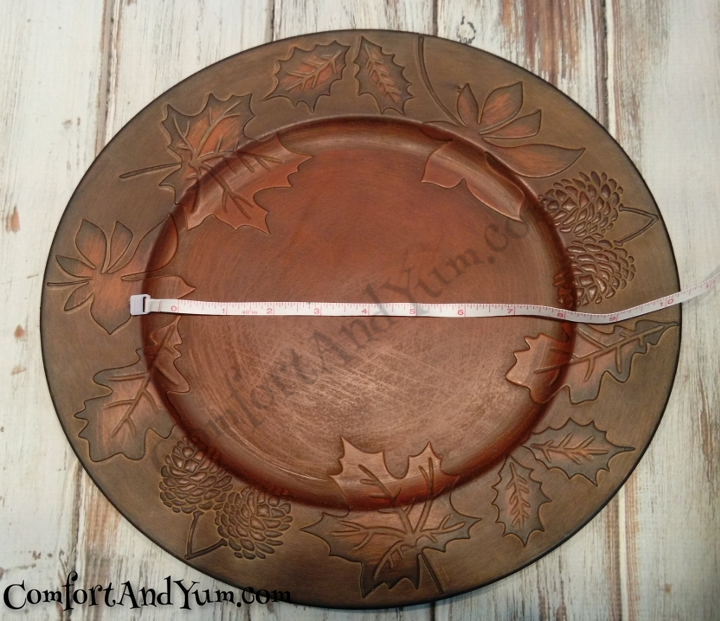
The best way to make sure I get the size just right is to first measure the area where the decoration is going to be placed. The full area measures around 8″ but those pesky leaves get in the way.
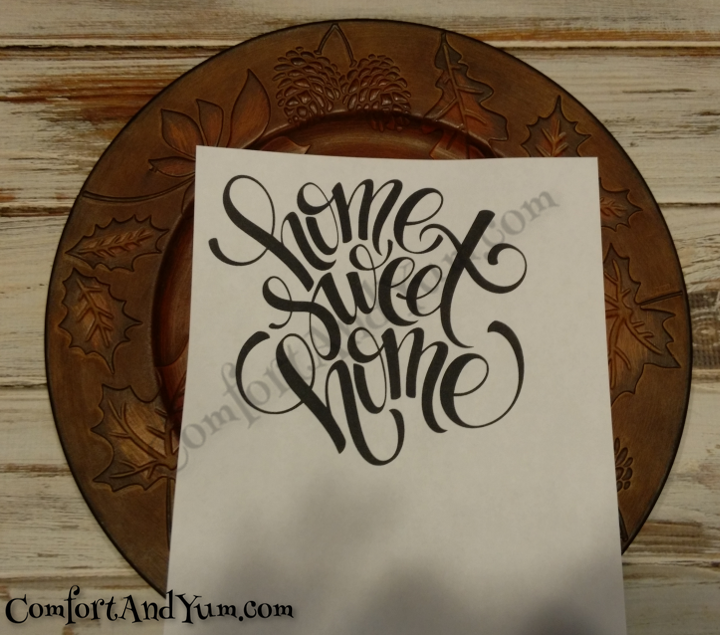
Measuring just the available open spaces, I came up with approx. 7 inches of plate to work with. Because this plate has design elements to work around I decided not to use the design I originally wanted. That design requires a perfectly round surface and just wouldn’t look right on this plate. So, I created a different design and set to work. Because I didn’t want to waste vinyl — I have to keep this project under $5, you know — I needed to get everything right the first time. I printed out the design on paper.
I still can’t really tell how I need to place it, so I’ll cut around the design so I can fiddle with it until it fits just right.
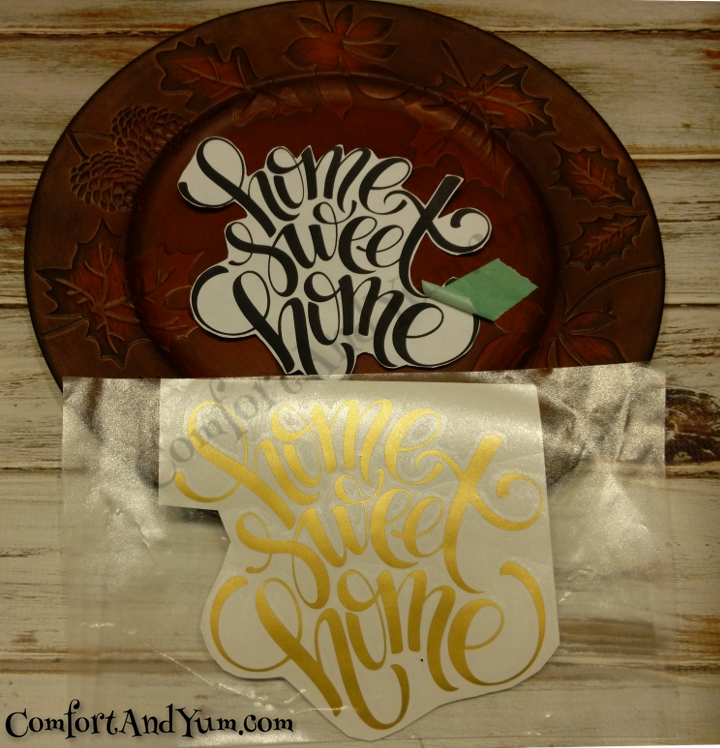
I moved it around until all the words fit exactly where I wanted them to be without overlapping any of the leaves on the inside of the plate. Since this size works and I don’t need to adjust the actual file, it’s time to cut the vinyl. Because the color of the plate is a brown with burnished bronze and gold highlights, I decided to use a metallic gold vinyl.
Checked it twice — like a good Santa’s helper — the vinyl is exactly the right size.
Now comes the fun part! Pulling the vinyl from the backing so it can be adhered to the plate.
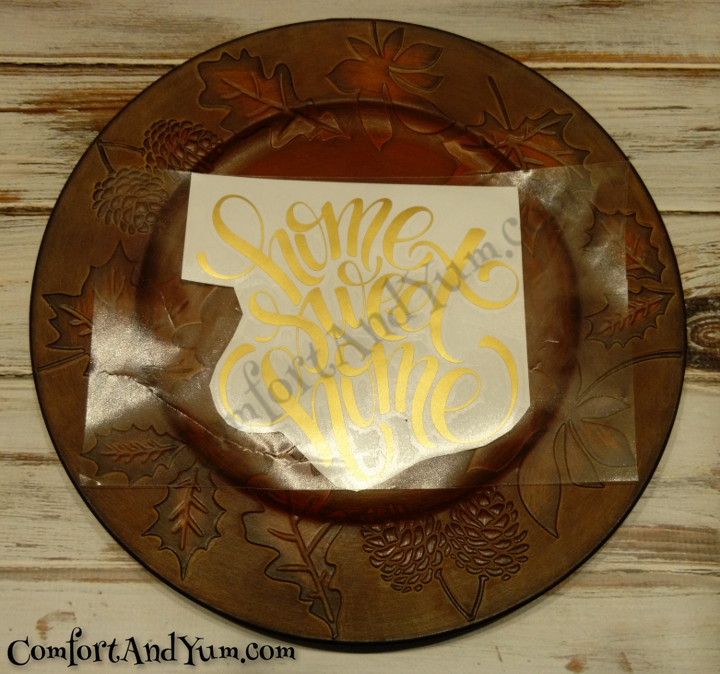
BUT FIRST!!! It’s important that the surface is free from dirt, dust and greasy fingerprints. I use rubbing alcohol on a soft paper towel over the entire surface of the charger and I make sure it’s dry before applying the vinyl.
With nerves of steel … ok, ok, I admit to twitches and the occasional gasp when I think some part of the transfer tape has touched down without my express permission. Anywho, with precision mathematics, physics & $43,000 in fancy equipment … ok, ok, so I eyeball the exact spot the vinyl needs to go and gently lay the center section down. Once the center section is down, I move outwards towards the left and right sides, pressing down firmly with my fingers. Once it’s down, I use a soft squeegy to make sure all the edges are down.
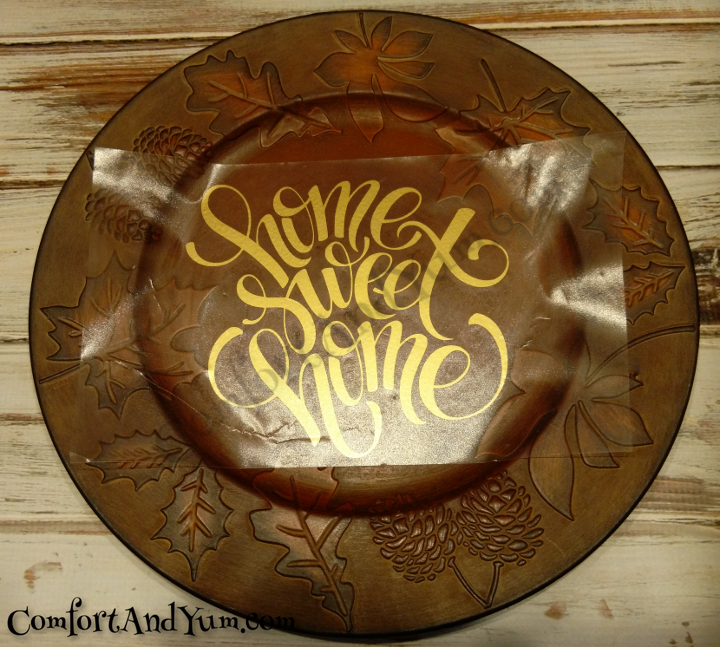
Now gently peel the transfer tape off of the charger. If any of the vinyl tries to lift with the tape, lay in back and rub the section until it sticks to the charger instead.
Now, I gently rub the decorated area with my fingers and check to see if there are any large air bubbles I need to squeegy out. I don’t worry about small air bubbles because those (if there are any) will generally disappear during the 48 hours the vinyl needs after application to cure.
TAA DAA!! A finished decorated, and in my humble opinion, GORGEOUS charger that is perfect for the upcoming holidays.
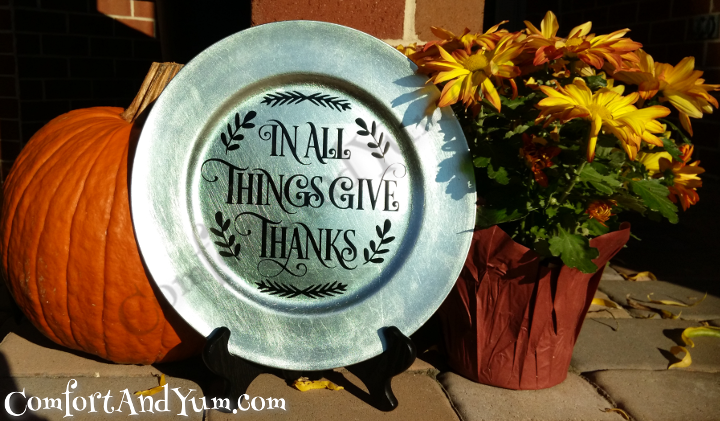
[addtoany]Since this particular charger wasn’t designed to have a Thanksgiving quote on it, I decided to make another project with a Thanksgiving quote. This project also costs less than $5 total.
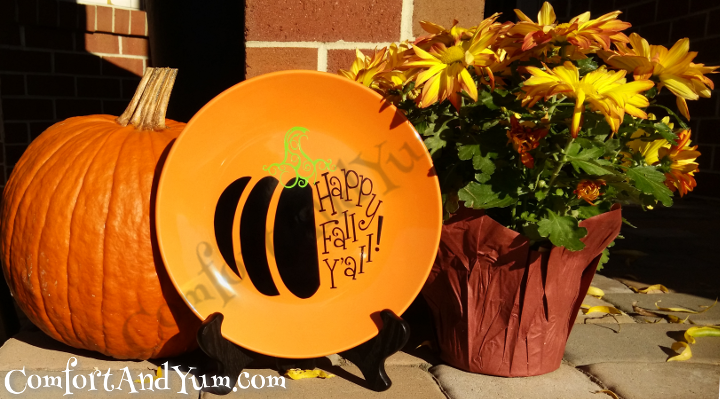
And because I love pumpkins and fall … and I’m a transplanted Southern girl, I just had to make this plate. This is a ceramic plate instead of a charger, however, the total cost of this project was also less than the $5 challenge cap.
[addtoany]Want to Check Out More Silhouette Projects?
My Silhouette Challenge buddies and I are all sharing projects on our blogs today, so peruse the projects below for a wealth of Silhouette inspiration!
1. From Wine to Whine // 2. Creative Ramblings // 3. Adventures in All Things Food // 4. unOriginal Mom // 5. Small Stuff Counts // 6. Alayna’s Creations // 7. Single Yet Married Mom // 8. Comfort and Yum // 9. Tori Grant Designs // 10. Cutesy Crafts // 11. The Crafting Nook // 12. Whatcha Workin’ On? // 13. Architecture of a Mom // 14. Havalah // 15. Create & Babble // 16. A Time For Seasons
Love it! That leaf charger is perfect for this project. And I love that gold vinyl – I think I might need to find some for myself!
SO gorgeous!!! Love this project… I’m a fan of rustic decor even though I don’t have much chance to decorate BUT when I move out, I’m definitely have a rustic touch in my house. This is so perfect! Pinning!
Gorgeous, indeed! Classy, warm, and inviting…
Beautiful! I love the gold lettering on the charger. And thanks for sharing your entire process with us…so often I get so excited for the finished product I forget to slow down and test the design first. Thanks for the inspiration!